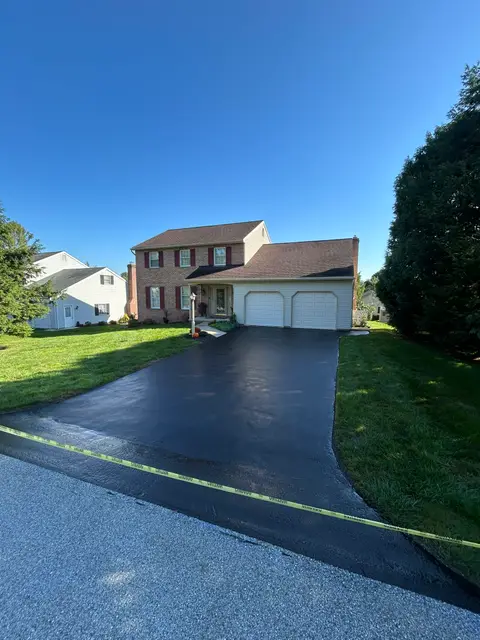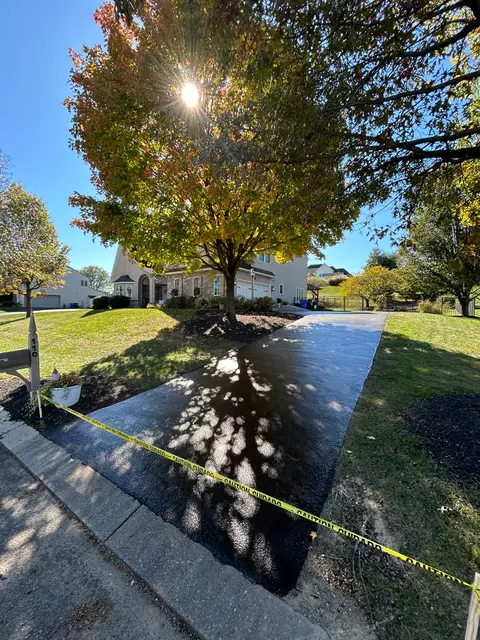
It might seem strange for a sealcoating company to explain how to seal coat a driveway yourself. We do it because plenty of homeowners are going to try it anyway, and a driveway sealed carefully by its owner is better than a driveway that never gets sealed at all. We would also rather you know what a good job involves, so that if you do hire someone, you can tell whether they are doing it right.
This guide covers the whole process, step by step, the mistakes we see most on DIY jobs, and an honest comparison of doing it yourself versus hiring a crew.
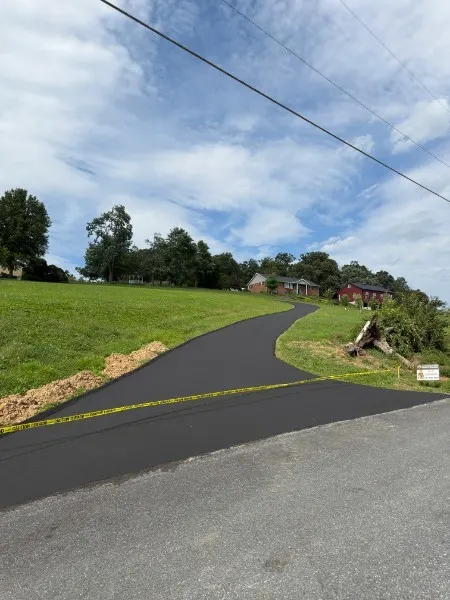
First: should this driveway be sealed at all?
Before buying anything, check that sealing is the right move.
- Age. New asphalt needs six to twelve months to cure before its first coat. Sealing it too early traps oils and the coat can fail.
- Last coat. If the driveway was sealed in the last two years and still looks black, wait. Sealing too often builds up layers that crack and flake.
- Condition. Sealer protects sound asphalt. If the driveway has alligator cracking, soft spots, sunken areas or crumbling edges along most of its length, sealer will not fix that. It needs repair first, or instead.
- Color. A gray, dry surface with stones starting to show is the classic sign the driveway is ready.
What you will need
- Driveway sealer (enough for two thin coats; the container lists coverage)
- Crack filler for any cracks wider than a hairline
- Oil spot primer
- A stiff push broom and a leaf blower or garden hose
- A flat shovel or scraper and a weed puller
- A squeegee or sealer brush with a long handle
- A small brush for edges
- Duct tape or painter's tape and plastic sheeting for protecting edges
- Old clothes and shoes you do not mind ruining
- Cones, rope or tape to keep traffic off
Read the label on the sealer you buy. Products differ in mixing, coverage, temperature limits and cure times, and the label beats any general guide, including this one.
Step 1: Check the weather
This is the step most DIY jobs fail on. Most sealers need:
- Air and pavement temperature above about 50 degrees Fahrenheit, and rising during the day.
- No rain for at least 24 hours after application, often longer.
- A dry surface.
Hot, humid or very cool days slow the cure. In Lancaster County, late spring through early fall gives the most reliable conditions. If rain is forecast, move the job. Fresh sealer and a thunderstorm make a mess that is very hard to fix.
Step 2: Clear and clean the driveway
Move cars, trash cans and anything else off the surface. Then:
- Pull weeds from cracks and edges.
- Trim the grass back from the driveway edge so you can see the actual edge of the asphalt.
- Scrape off caked dirt and debris with the shovel.
- Sweep the whole surface hard, then blow it off or rinse it.
- If you rinsed, let the driveway dry completely. Sealer on a damp surface does not bond.
Step 3: Treat oil spots
Oil and gasoline soften asphalt and stop sealer from sticking. Scrape off anything gummy, clean the spot with a degreaser if the label recommends it, rinse, let it dry, then apply oil spot primer. Skipping this is why sealer peels off in patches where cars park.
Step 4: Fill the cracks
Sealer does not fill cracks. Any crack you can fit a coin into should be filled before you seal.
- Clean each crack out completely.
- Fill with crack filler according to the label.
- Let it cure fully before sealing over it.
For long or wide cracks, hot pour rubberized filler applied by a crew lasts much longer than DIY fillers. Our driveway crack repair guide covers how to tell which cracks you can handle yourself.
Step 5: Protect what should not be sealed
Tape or cover concrete aprons, sidewalks, pavers, garage door bottoms and anything else next to the asphalt. Sealer stains concrete and stone permanently. Lay plastic over plants at the edges. Turn off lawn sprinklers and leave them off until the driveway has cured.
Step 6: Cut in the edges
Using the small brush, apply sealer along all the edges first: the garage apron, the walkway, the lawn line, and around any drains or obstacles. Work slowly. This is where a driveway looks professional or amateur.
Step 7: Apply the first coat
Stir the sealer thoroughly, including the sand that settles at the bottom. Pour a strip across the top of the driveway and spread it with the squeegee in thin, even passes, working your way downhill and toward your exit so you do not seal yourself in. Keep the coat thin. Thick coats look impressive for a week, then crack, peel and track onto everything.
On a sloped driveway, work from the top down and watch the low end, so sealer does not run and pool.
Step 8: Let it dry, then apply the second coat
Wait the time on the label between coats, often several hours. Apply the second coat in the opposite direction to the first for even coverage. Two thin coats protect far better than one heavy one.
Step 9: Keep everything off it
Block the driveway with cones or tape. Most sealers need several hours before you can walk on them and 24 to 48 hours before you can drive on them, longer in cool, shaded or humid conditions. For the first couple of weeks, avoid turning the steering wheel while the car is not moving, which can scuff the fresh coat.
The mistakes that ruin DIY sealing jobs
- Sealing in the wrong weather. Rain, cold, or high humidity during the cure.
- Skipping the cleaning. Sealer bonds to dirt, then lifts off with it.
- Not priming oil spots. Peeling patches where the cars park.
- Sealing over open cracks. They reappear within weeks.
- One thick coat. Cracking, peeling and tire marks.
- Not stirring. The sand stays in the bucket and the coat is slippery and thin.
- Sealing too often. Annual coats build up and flake.
- Driving on it too soon. Tire marks that last until the next coat.
- Sealer on the concrete. Permanent.
Retail sealer vs professional sealer
Sealer sold in buckets at home stores is formulated to be easy for anyone to apply. Contractors usually buy sealer in bulk from suppliers, mix it to the manufacturer's specification, often with added sand, and apply it with spray rigs or squeegees in controlled amounts. Neither is magic. A careful homeowner with good retail sealer on a well prepared driveway can do a solid job. A careless contractor with professional sealer can do a bad one. Prep and weather decide most of the result.
DIY or hire a crew: an honest comparison
Doing it yourself makes sense if:
- The driveway is small to average and in good condition.
- There are few or no cracks.
- You have a free weekend with reliable weather.
- You are comfortable with physical work and a mess.
Hiring a crew makes sense if:
- The driveway is long, sloped or wide.
- There are many cracks that need hot pour filling.
- There is decorative concrete, pavers or a new garage door right next to the asphalt.
- You want it done in one day with a predictable result.
- You would rather not spend a weekend on your knees with a brush.
A crew also brings equipment you do not own: blowers, a crack melter, spray rigs, and the experience of having done it hundreds of times.
How often to repeat it
Every three to four years for most driveways. In between, fill new cracks each fall and clean up oil drips as they happen. Our asphalt driveway maintenance schedule lays out what to do each season.
Frequently asked questions
Can I seal my driveway in the fall?
Yes, if the temperature stays above the label minimum during the day and no rain is forecast for the cure period. Watch for falling leaves on wet sealer.
Do I need two coats?
Two thin coats are better than one thick one. Many labels recommend two.
How long before I can park on it?
Usually 24 to 48 hours, depending on the product and the weather.
Can I seal over an old sealcoat that is peeling?
Remove loose, flaking sealer first. New sealer bonds to whatever is under it. If that is loose old coating, it will flake off with it.
Is driveway sealing the same as sealcoating?
Yes. Read driveway sealing vs. sealcoating for all the names it goes by.
Rather have a crew do it?
Lancaster Lines & Asphalt seals driveways across Lancaster County: cleaning, oil spot priming, hot pour crack filling, edges cut by hand and two coats, usually in a single day. You get a free written price before we start. See our driveway sealing page or request a free quote.