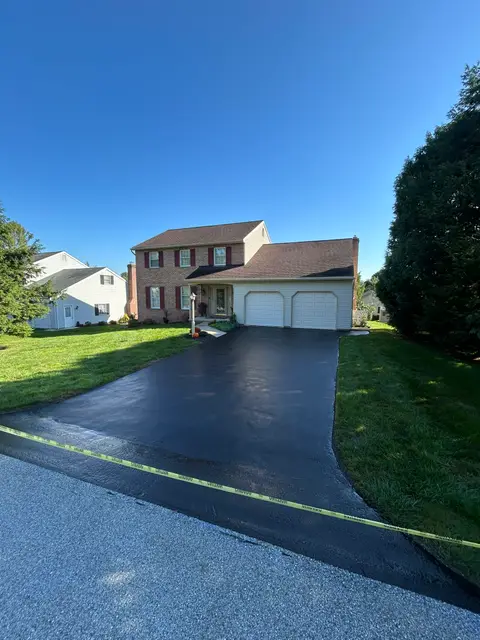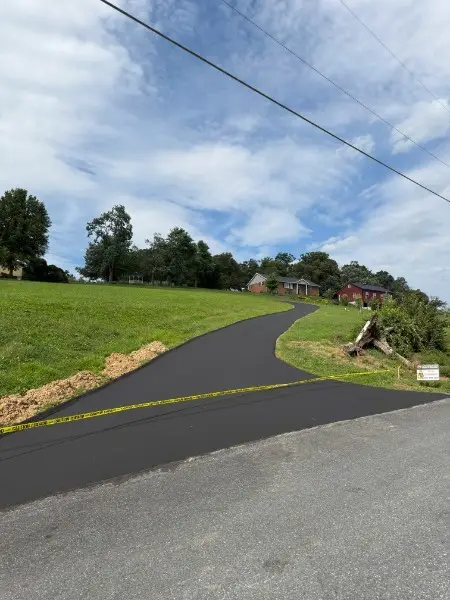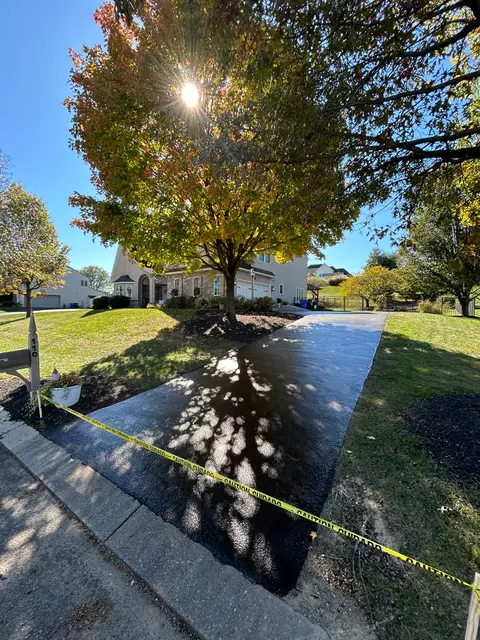
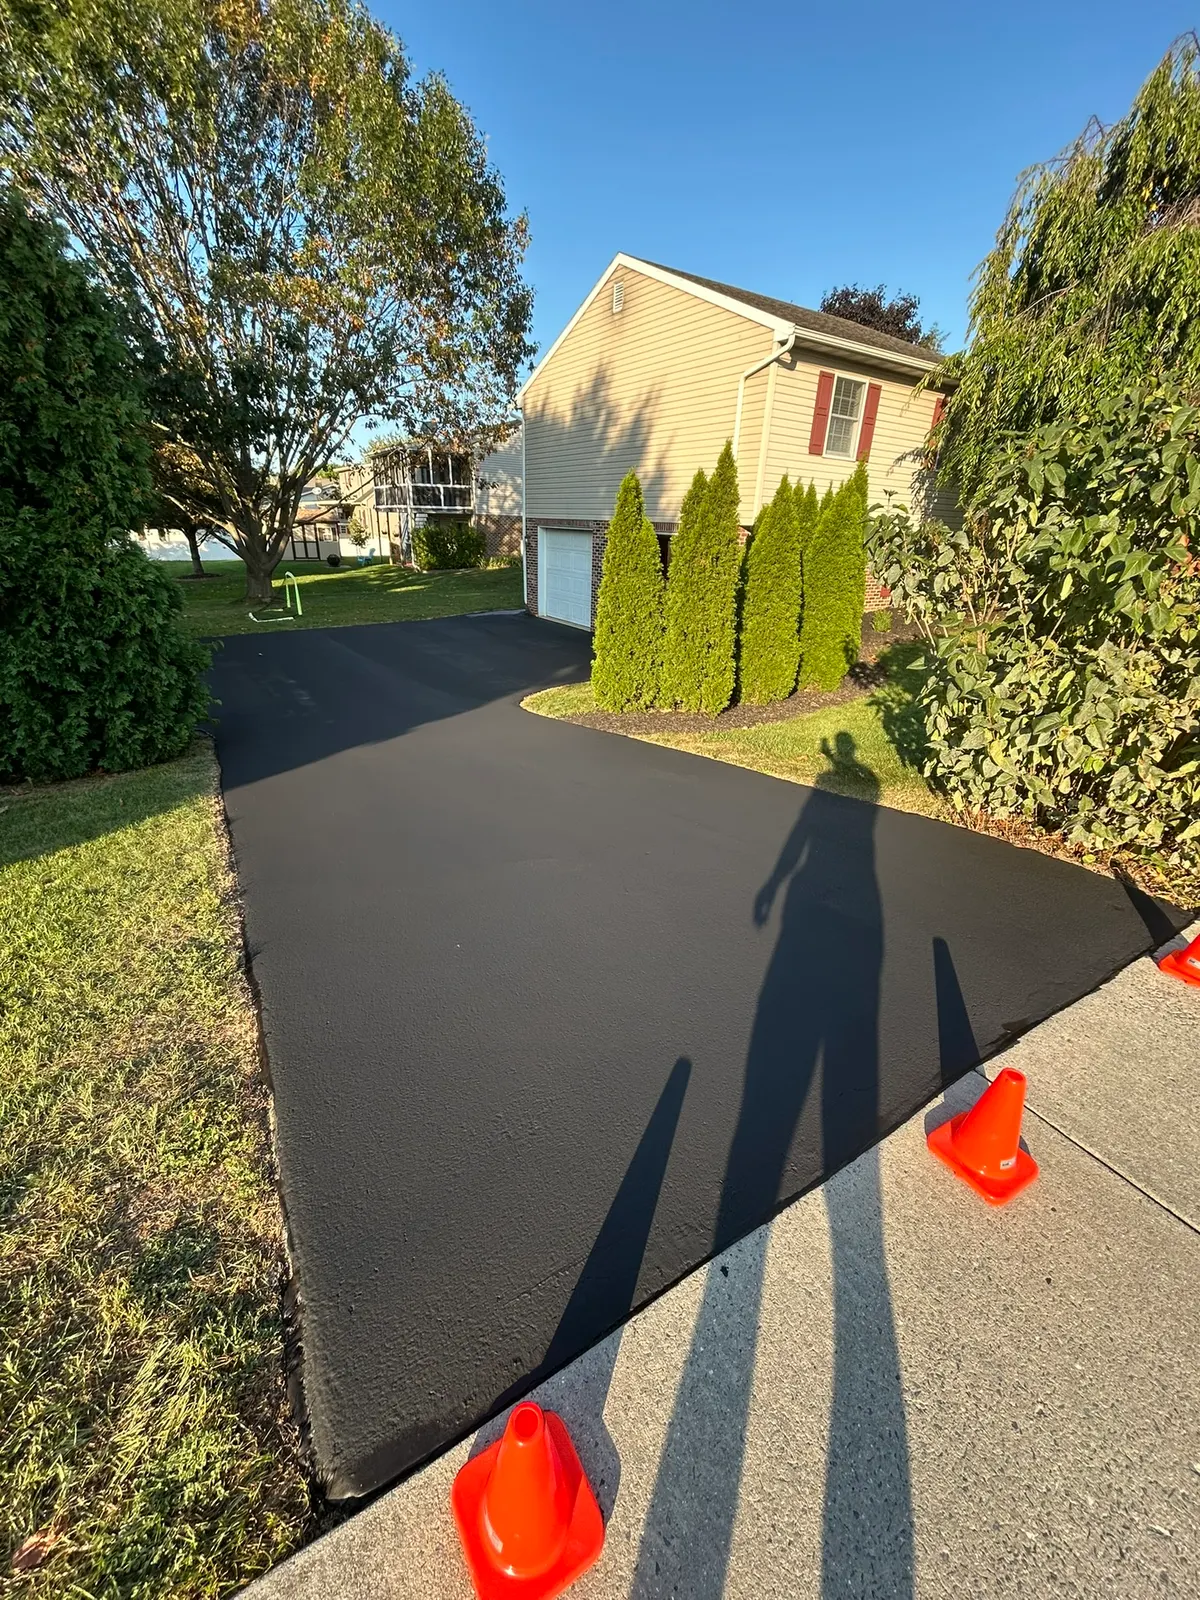
You’ve hired someone to sealcoat your driveway. The truck shows up, and three hours later there’s a black rectangle where your gray one used to be. But what actually happened in those three hours? Was it craftsmanship or just a guy waving a spray wand around?
Fair question. Most homeowners never see the process up close, which is exactly how low-effort contractors get away with skipping half of it. I’m Ruvim, owner of Lancaster Lines & Asphalt, and I’m going to walk you through our sealcoating process step by step, every stage, every judgment call, including the days we look at the sky and go home.
By the end, you’ll know what a proper job looks like and how to spot a rushed one from your kitchen window.
Step 1: The Inspection (Where We Sometimes Talk You Out of It)
Before anything gets sprayed, we walk the driveway. We’re looking for:
- Cracks that need hot-pour filler before sealing, sealer alone won’t fix them.
- Oil spots that need cleaning and primer, or the sealer peels off them by spring.
- Drainage issues, puddling spots wear sealer faster and tell us about the base underneath.
- Age of the asphalt. If your driveway was paved less than 6–12 months ago, we won’t seal it. New asphalt has to cure and release its oils first. Sealing too early can trap them and cause the coating to fail. Any contractor eager to seal fresh blacktop is selling you a problem.
Sometimes the inspection ends with us recommending crack repair first, or telling you to wait a year. That’s not lost business, that’s how we make sure the sealcoat we eventually apply actually works. If you want the background on why any of this matters, start with What Is Sealcoating and Why Does It Matter.
Step 2: The Weather Check (Yes, It’s a Real Step)
Sealer is picky. It wants surface temperatures above roughly 50°F, a dry surface, and no rain during the curing window. Humidity matters too, on a muggy Lancaster County August day, sealer dries slower, and we adjust timing and coat thickness to match.
If rain is in the forecast within the drying window, we reschedule. Full stop. Fresh sealer plus a thunderstorm equals black streaks across your lawn and a driveway that needs redoing. It costs us a day; it saves your job. On extreme heat days we work early mornings, because sealer flashing off too fast on 95°F asphalt doesn’t bond properly either. The weather runs this business more than any calendar does.
Step 3: Cleaning, the Least Glamorous, Most Important Part
Sealer bonds to asphalt. It does not bond to dust, dirt, grass clippings, or that mysterious gravel that migrates in from the road. So before anything else:
- We blow the entire surface clean with high-powered blowers.
- We scrape out vegetation growing along edges and in cracks. Weeds are surprisingly ambitious.
- We wire-brush and degrease oil spots, then hit them with a primer that gives sealer something to grab.
- Stubborn dirt gets scrubbed or washed, then the surface has to dry completely.
When you see a crew go from truck to spraying in ten minutes, this is the step they skipped. The coating will look fine at first, and then peel wherever the dirt was, which is everywhere.
Step 4: Crack Filling Before Sealing
Cracks wider than about a quarter inch get hot-pour rubberized crack filler, heated to around 400°F and pushed down into the crack so it bonds to both walls. When it cools, it stays flexible, which matters here because Lancaster County freeze-thaw cycles move your asphalt around all winter. Rigid filler cracks with it; rubberized filler stretches.
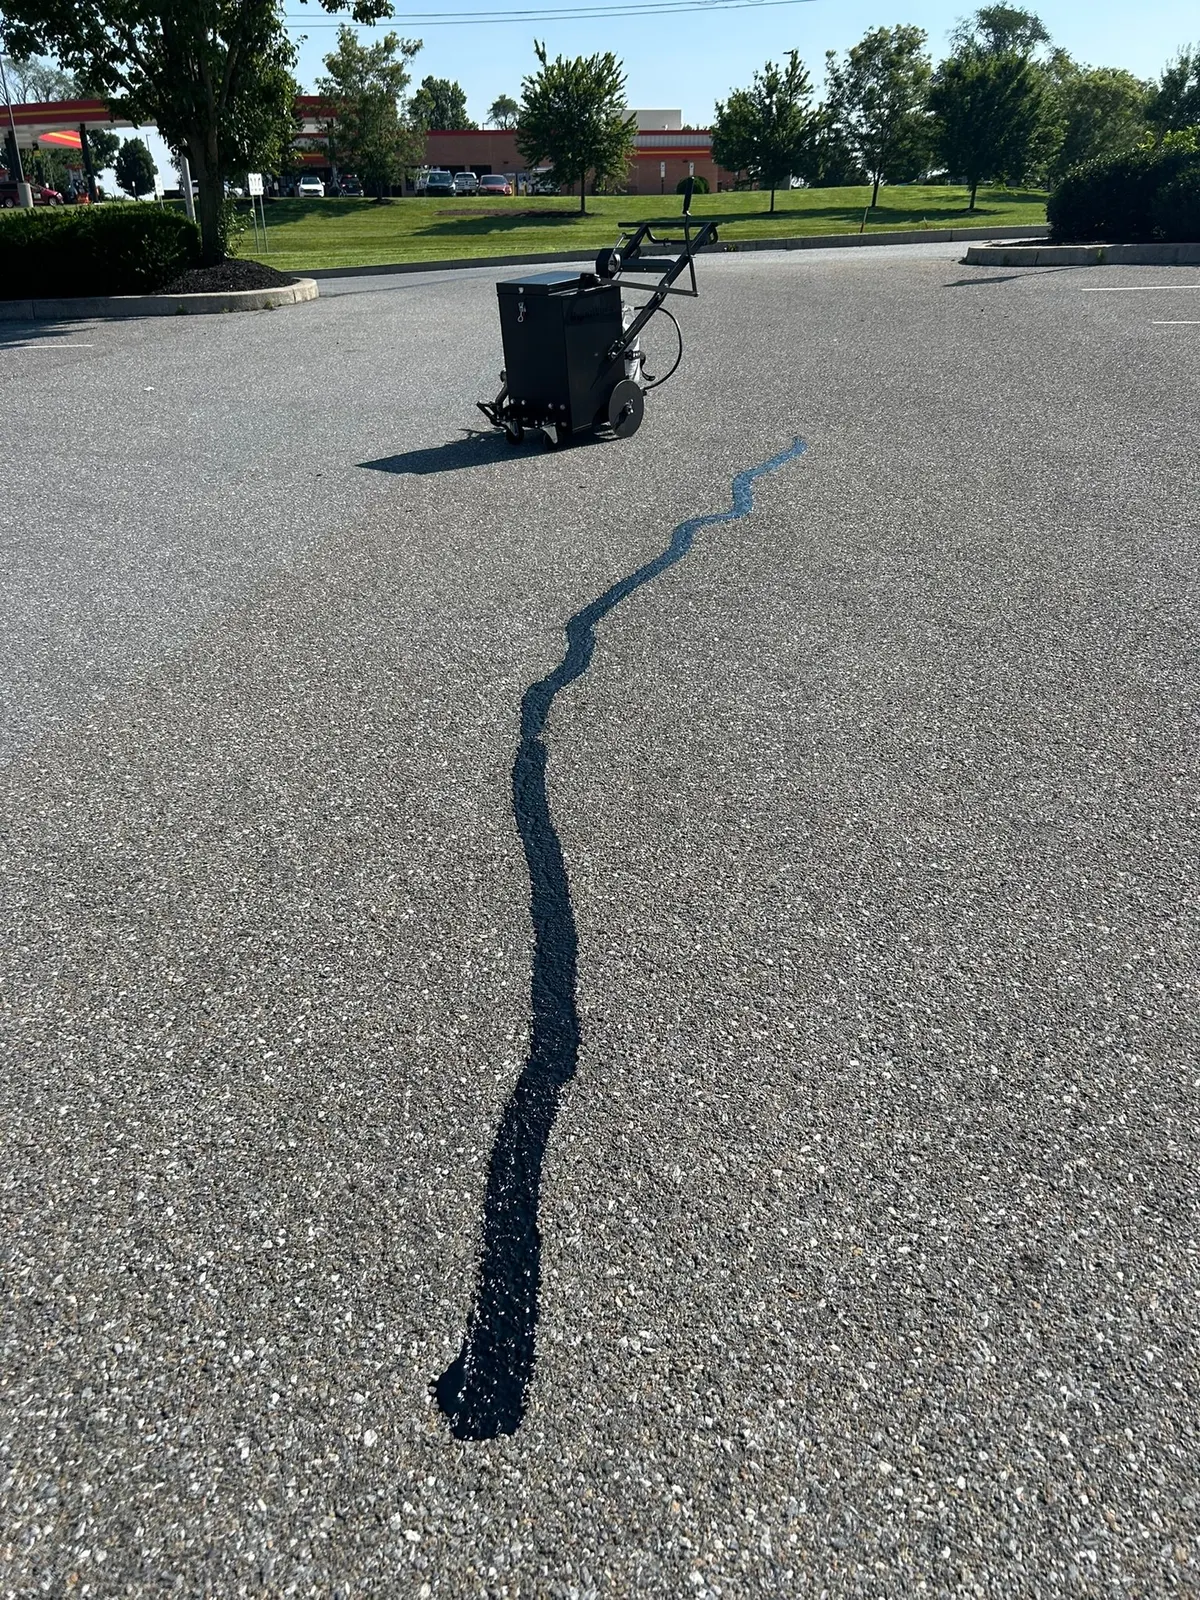
Sealing over unfilled cracks is one of the most common shortcuts in this trade, and it guarantees the customer calls someone else in two years wondering why their driveway fell apart under a fresh-looking coat. Details on how we do it are on our crack filling page.
Step 5: Edge Work by Brush
Here’s a detail that separates careful crews from fast ones: we cut in all the edges by hand with a brush before spraying the field. Along your garage slab, your sidewalk, the lawn line, around drainage grates and utility covers.
Why? A spray wand doesn’t do precision. Spray to the edge and you get overspray on concrete, grass, and siding, the asphalt equivalent of coloring outside the lines. Brushing the perimeter first means crisp, straight edges and sealer only where sealer belongs. It’s slower. It’s also the first thing you see every time you pull in, so we think it’s worth the extra time.
Step 6: Two Coats, Not One Thick One
We apply a water-based asphalt emulsion sealer with sand additive, in two coats. The sequence matters:
- First coat goes on and soaks into the surface, this is the bonding coat that penetrates the pores of the asphalt.
- Dry time until the first coat can take the second, usually a few hours depending on sun, temperature, and humidity.
- Second coat goes on perpendicular to the first where possible, filling in thin spots and building the wear layer.
One thick coat is not the same thing. Thick single coats skin over on top while staying soft underneath, cure unevenly, and can stay tacky for days. Two proper coats cure through and wear evenly. The sand in the mix adds traction, a driveway shouldn’t double as a slip-and-slide when it drizzles.
Why water-based instead of coal tar? Cleaner application, less odor, and a better environmental profile, it’s the direction the industry has been moving, as groups like the National Asphalt Pavement Association document in their pavement preservation work.
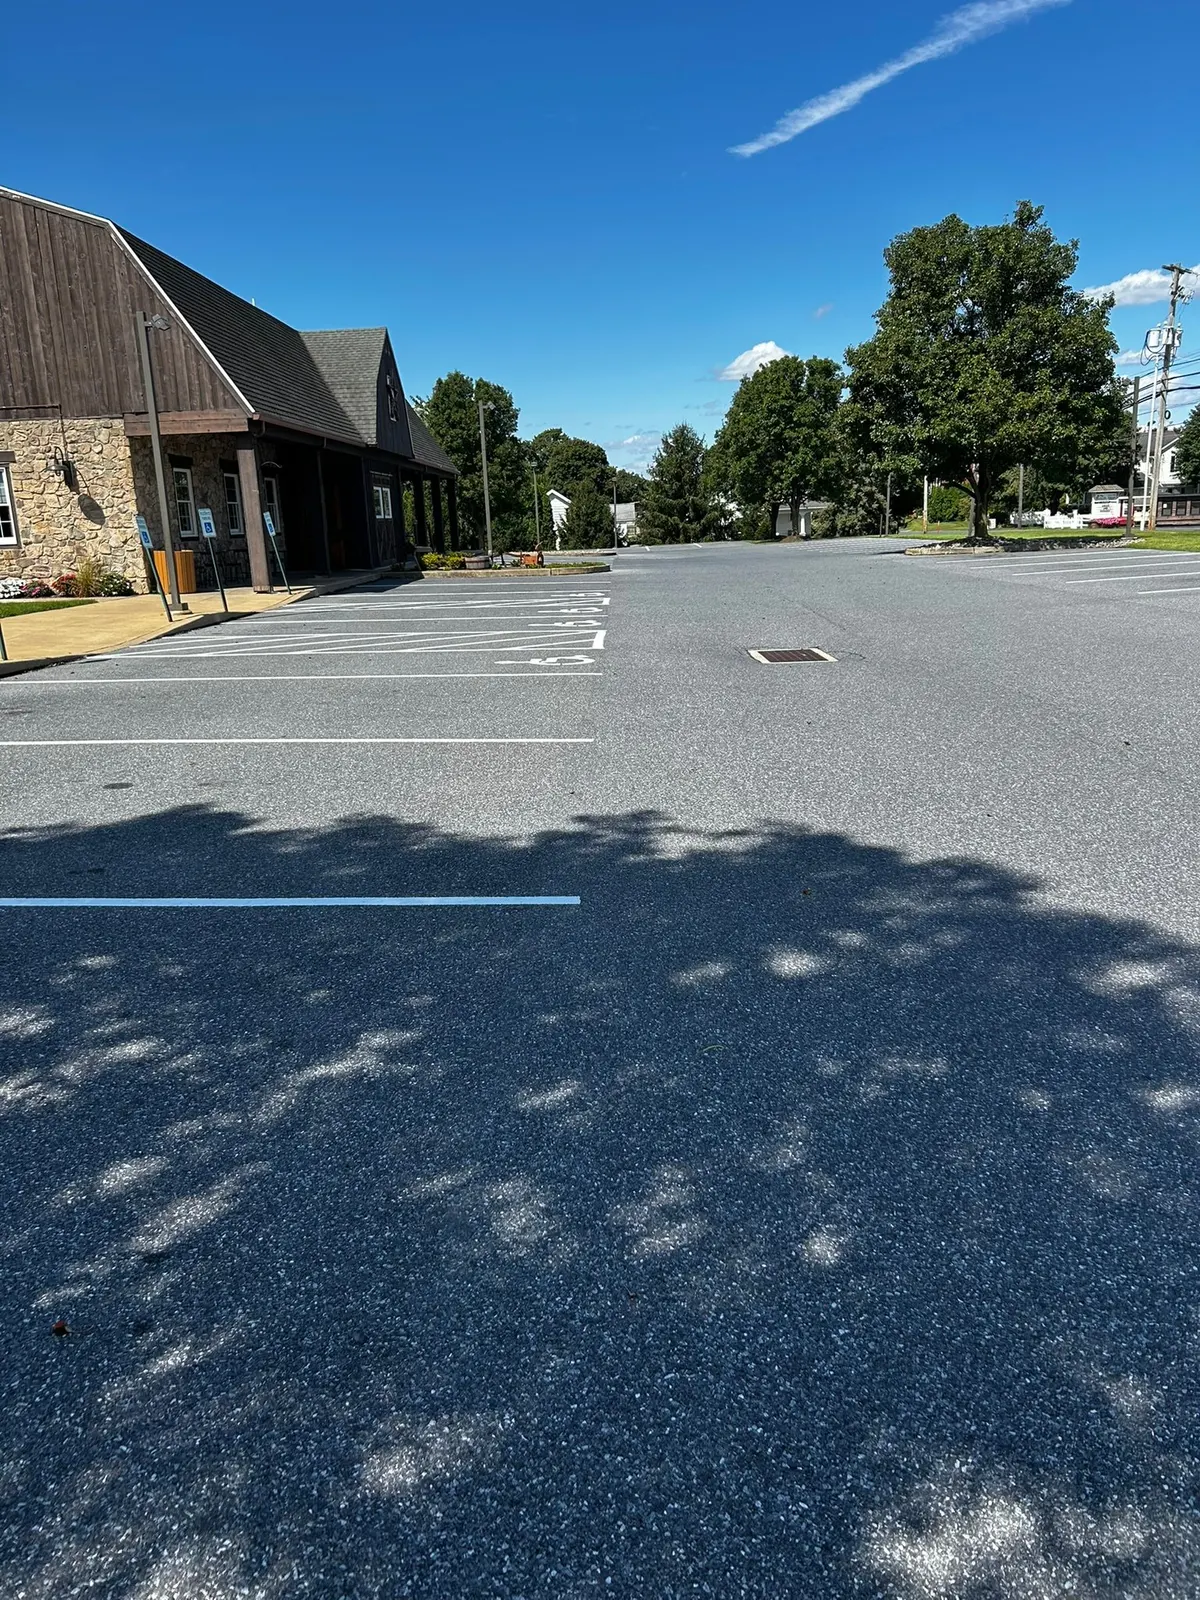
Want to watch the whole thing happen on a real driveway? This video shows a full job start to finish:
Step 7: Curing, 24 to 48 Hours of Patience
After the second coat, the sealer needs 24–48 hours before vehicles drive on it. We block the driveway entrance so nobody “just quickly” pulls in, because someone always wants to just quickly pull in, and tire marks in soft sealer are forever.
A few curing rules worth knowing:
- Foot traffic is usually fine after several hours; cars need the full window.
- Hot, sunny days cure faster; humid or shaded driveways need the longer end of the range.
- Avoid sharp steering-wheel turns in place for the first week, power steering on fresh sealer leaves scuff marks.
- Don’t water the lawn onto the driveway for a couple of days. The sprinkler doesn’t know about your investment.
Step 8: The Walkthrough
Before we leave, we walk the job, edges crisp, coverage even, no thin spots, cleanup done. You get told exactly when you can drive on it and what to expect as it cures (fresh sealer can look slightly different as it dries, that’s normal, not a defect).
This is the same process whether we’re doing a two-car driveway in Leola or a farm lane outside Strasburg. Scale changes; steps don’t.
Why All This Matters in Pennsylvania Specifically
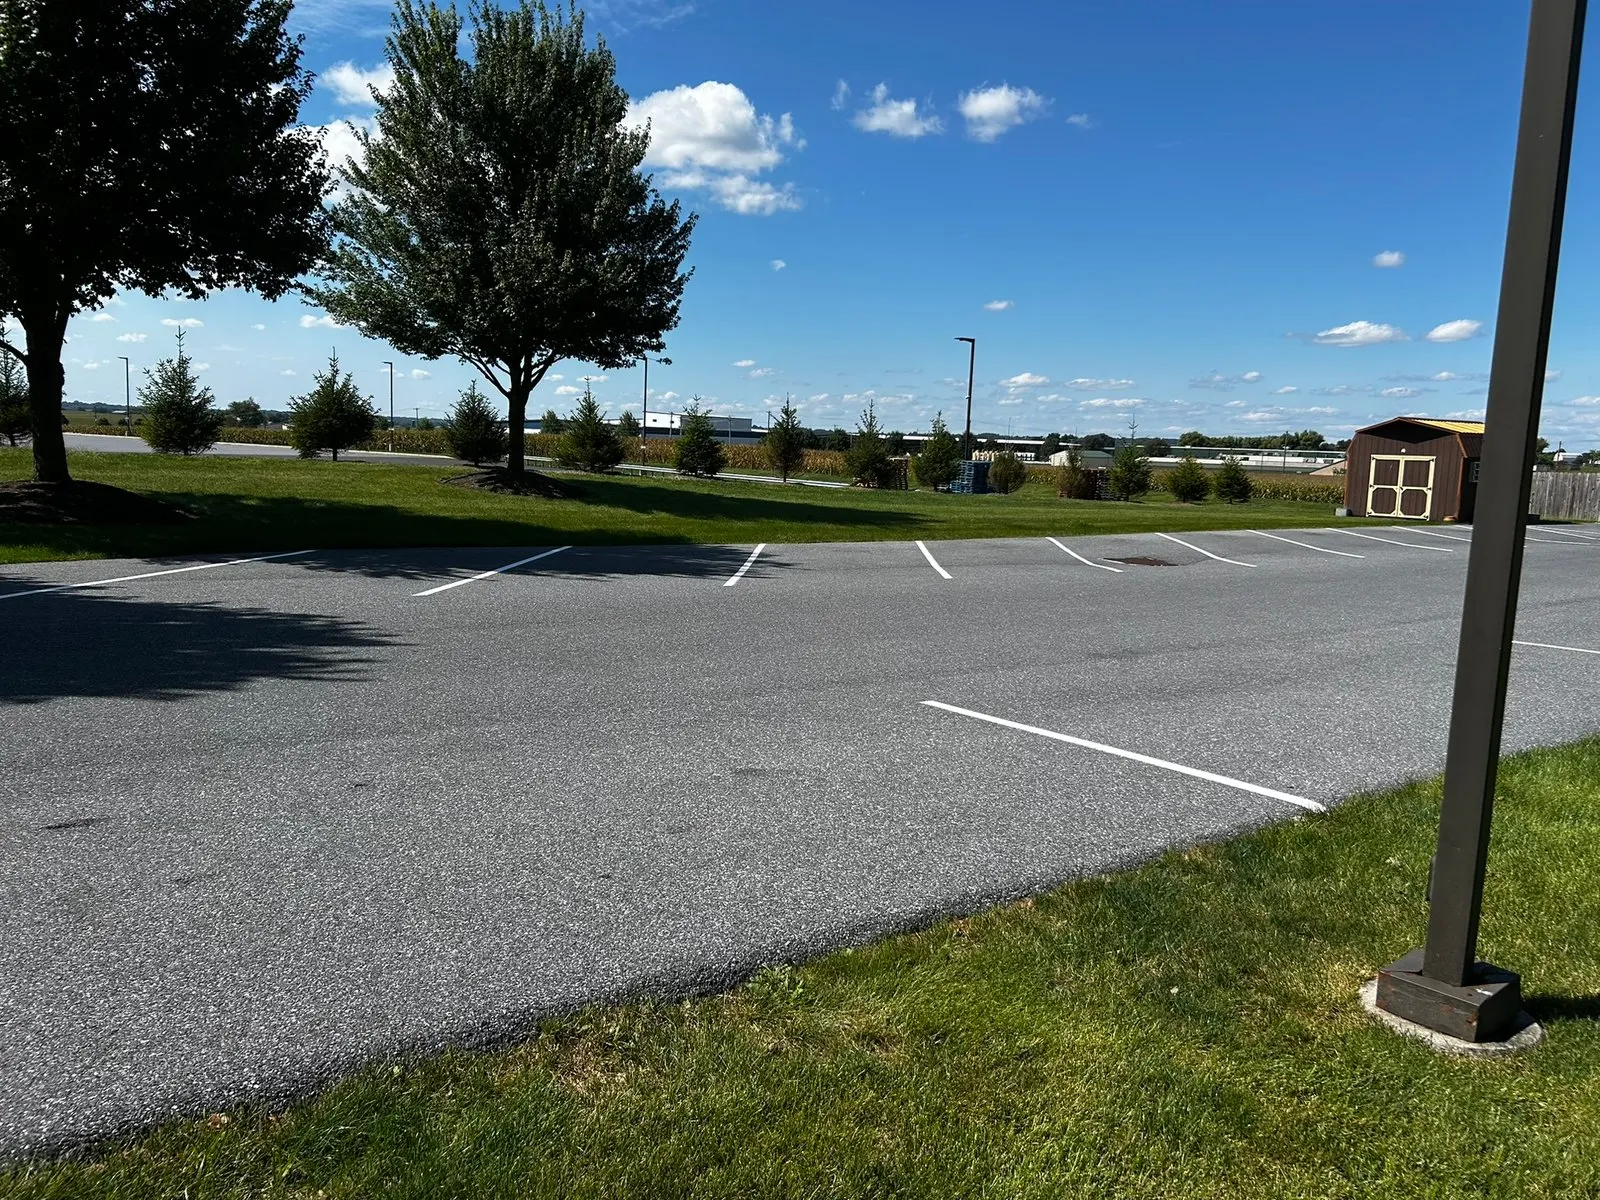
A sloppy sealcoat job in a mild climate is a cosmetic problem. Here, it’s a structural one. Lancaster County asphalt takes dozens of freeze-thaw cycles every winter, water gets into any unprotected pore or unsealed crack, freezes, expands, and wedges the pavement apart. Then PennDOT and the townships salt the roads, your tires carry that brine home, and salt accelerates the surface breakdown further.
A properly executed sealcoat, cleaned, crack-filled, edged, two coats, fully cured, is the barrier between your driveway and all of that. A rushed one is just paint. If winter already got a head start on your pavement, our spring asphalt checklist covers what to look for and fix first.
How to Spot a Rushed Job From Your Kitchen Window
You don’t need to stand over the crew with a clipboard. Just glance out occasionally and check for these:
- Did they clean first? If the wand came out before the blower, that coating is bonding to dust.
- Did anyone kneel down with a brush? No brush means no edge work, and you’ll see the overspray on your sidewalk to prove it.
- Did they come back for a second coat? One pass and gone means you got half a job at full price.
- Did they block the entrance? A crew that doesn’t protect the curing sealer doesn’t care what happens after they leave.
None of these checks require expertise, just eyes. A crew doing it right is easy to recognize because half their time on site looks like they’re not sealcoating at all. That’s the prep, and the prep is the job.
FAQ: The Sealcoating Process
How long does the whole sealcoating job take?
On site, a typical residential driveway takes a few hours including prep, crack filling, edge work, and two coats. Add 24–48 hours of curing before you can drive on it, so plan on your driveway being off-limits to cars for about two days total.
How much does this process cost?
Our minimum job is $400, and most Lancaster County driveways land between $400 and $700 depending on size, condition, and how much crack filling and prep they need. The estimate is free and itemized, so you see exactly what you’re paying for.
What happens if rain is forecast on my scheduled day?
We reschedule. Sealer needs a dry surface and a rain-free curing window, and applying it ahead of a storm ruins the job. We’d rather move you a few days than redo your driveway, and you’d rather that too, even if it doesn’t feel like it when we call.
Can you sealcoat a brand-new driveway?
Not yet. New asphalt needs 6–12 months to cure before its first sealcoat. Sealing earlier can trap oils in the pavement and cause the coating to fail. If your driveway was just paved, enjoy it for a year, then call us.
Do you spray or squeegee the sealer?
We spray the field for even coverage and brush all the edges by hand. On surfaces that need it, material gets worked in rather than just laid on top. The method matters less than the standard: even thickness, two coats, clean edges.
Ready to See It Done Right?
If your driveway is due, gray, rough, or just overdue for some protection before the next Lancaster County winter, request a free estimate or call/text me at 717-808-1600. You’ll get a straight answer about what your driveway needs, what it doesn’t, and a written quote with no surprises. And if the forecast turns on us, we’ll be honest about that too. Check out our sealcoating service to see more of our work.